麻豆影视

Office of Research and Innovation

Research and Innovation

Cayuse - Human Ethics (IRB)


Welcome to the TAMUK Cayuse Human Ethics webpage. You will find training materials here as well as the status of Cayuse Human Ethics. 

If you have any questions Contact the Office of Research and Innovation.


As a Researcher, you can create a new study from your Dashboard or the Studies page within Human Ethics.

Creating a Study

A Study is a container for all of your submissions, actions, and changes on a particular research activity. You must create a study before creating your initial submission.

  1. Click  in the upper right-hand corner of your Dashboard or the Studies page.
  2. Enter the title of your study. The title can be up to 600 characters long.

  3. Click  to save your study.

After creating your study, you will be taken to the Study Details page. Here, you will see where important study information will populate once you begin your submission.

The person who creates the study is added as the primary contact by default. You can change this when editing the submission.

You can rename your study up until the completion of a withdrawal or admin closure submission. From the Study Details screen, hover over the study title and click within the field to edit.

Once you create your study, you can begin your initial submission. Click on New Submission in the upper right-hand corner to start completing your forms.


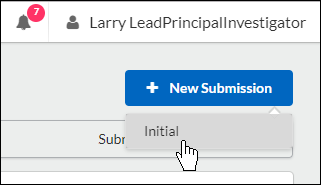
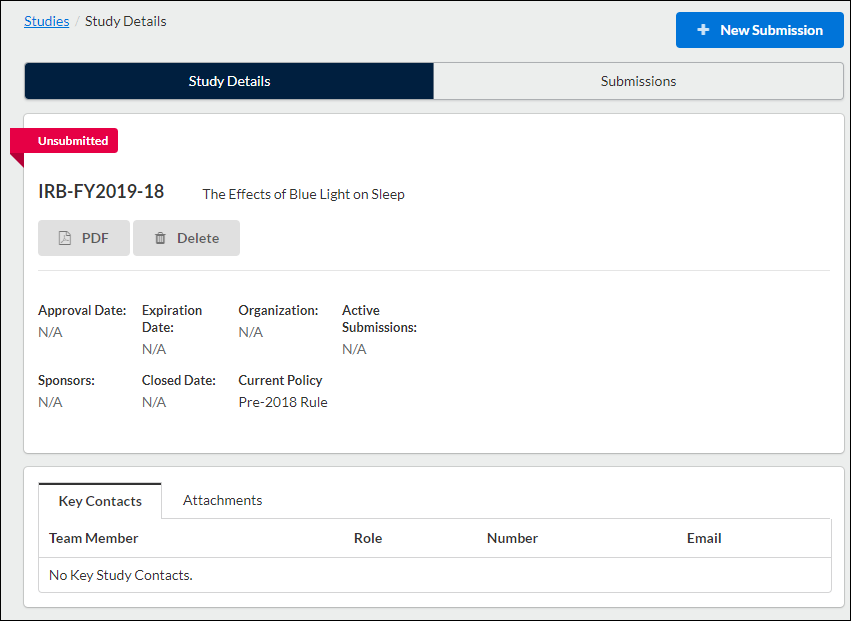
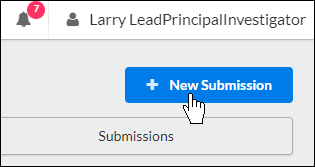
After you create a new study, you can begin completing forms for your initial submission by clicking on New Submission, and then clicking Initial from the drop-down menu.

Submission information will populate beneath the Submission Details tab. The person who creates the study is added as the Primary Contact by default, but this can be changed when editing the submission.  Make sure to not remove yourself from all roles and Save, or you will not be able to access your submission once you leave.

Click on  to begin your submission forms. You will always be able to return to your incomplete submission by clicking this button.

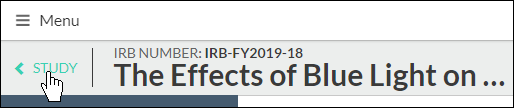
Once on your institution's initial submission form, you can return to the Submission Details page by clicking on Study in the upper left-hand corner of the screen.

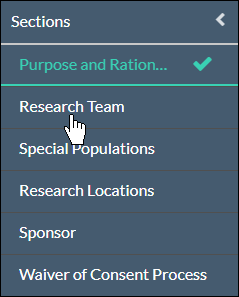
Use the  buttons to toggle between sections. You can also click on a section name in the menu at left to jump to that section.

Completing Submission Forms

There are several types of questions that your institution may have chosen to include on the submission forms:

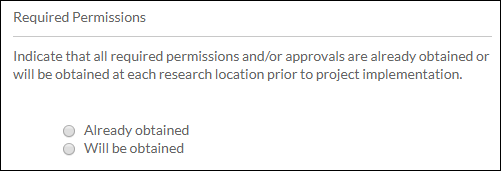
  • Radio Buttons: Select one of the available options.

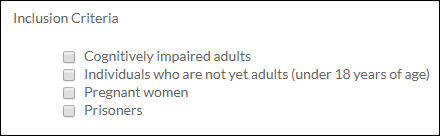
  • Check Boxes: Select one or more of the available options. 

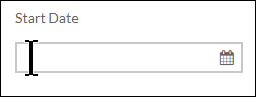
  • Date Picker: Click within the field to browse for a date.

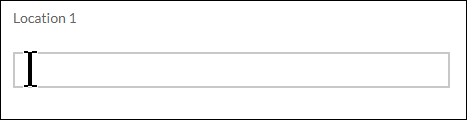
  • Text Box: Provide a short answer to the stated question (200-character limit). If you need to enter multiple lines of text, the box will expand to fit. 

  • Text Area: Provide a detailed answer to the stated question. You can use formatting such as bold, italics, underline, strikethrough, bulleted lists, numbered lists, and hyperlinks. 


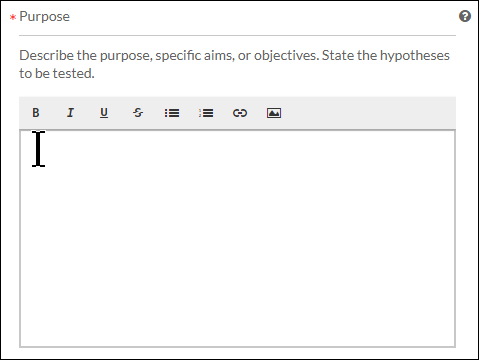
    You can also add PNG or JPG images using the image button . Once your image is inserted, you can edit the image by clicking on the image and then clicking Edit.

  • Person and Sponsor Finders: While every initial submission will require you to add a Primary Contact and Principal Investigator, your institution may have you add other people or sponsors to different sections within your submission. Click on the finder button to bring up a search dialogue. 


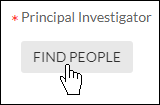
    Search for the individual or sponsor that you wish to add, select them, and click Save

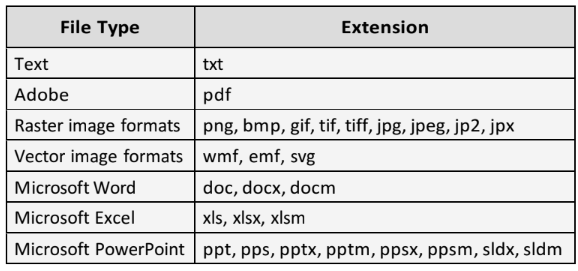
  • Attachments: Upload one or more files to the study by clicking . Human Ethics supports the following file types:


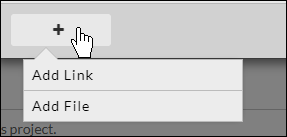
    You can also include hyperlinks as "attachments" by choosing Add Link from the + drop-down menu. 


    To delete an attachment, click the  icon next to the attachment.

Please note: Some questions have  next to the question number. This indicates a required question.

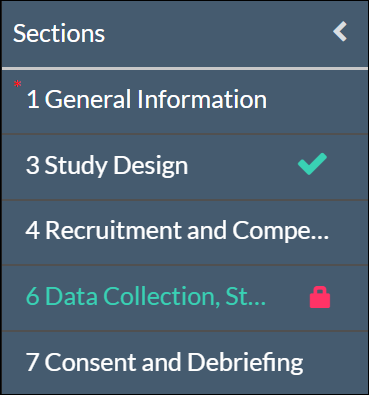
Sections with unsaved changes have an asterisk next to the section name.

To save your changes, click  in the upper right-hand corner.

Help with Questions

If there is help text for a question, you can click on the button to view the additional information for that question.

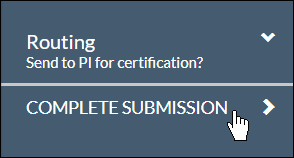
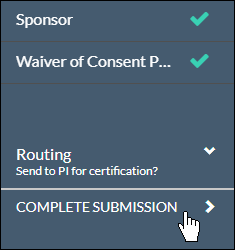
Once there are check marks next to all of your sections, you have completed the submission forms and are ready for routing.

Please note: If one of your sections doesn't have a check mark and you aren't sure why, search the section for any required questions you may have missed.  

With every section completed, you can .

Please note:  Human Ethics will warn you with a red lock icon if another user is currently editing a section. You won't be able to edit that section until they're done with their edits. 

The Complete Submission button will only appear when you have check marks next to all of your sections,. If one of your sections doesn't have a check mark and you aren't sure why, click on the section to search for any required questions you may have missed.  


Once you have filled out every section of your submission and have added all required attachments, a Complete Submission option appears beneath Routing within the menu.

After clicking Complete Submission, you will be prompted to Confirm or Cancel.

Upon confirmation, you will see the status of your submission change on the Submission Details page.

Certification

Your completed submission is sent to the PI for certification. The PI will receive an email letting them know that the submission needs to be certified. When the PI certifies the submission, they are asserting the submission is complete and accurate and are accepting their PI responsibilities.

If the PI decides that changes need to be made, they will send the submission back. All research team members will receive an email notifying them of the change in status so they can make the necessary edits and complete the submission once more.

Once the PI has certified the submission, the submission will be reviewed by the organizational approver and routed to the Analyst. The submission may be returned at any point for edits or clarification. Please note: If your institution does not have an approver, the submission may be routed directly to the Analyst. 

Completing Submission as a PI: If you are a PI completing your submission, you should be able to then certify the submission right away.

Co-PIs: Your institution's settings may require that any Co-PIs on the study also certify the submission. These individuals also have the ability to return to the submission to the research team. Administrators can specify this behavior in the Application Settings.

Recertification: If the submission does get returned to the research team, all previous certifications are cleared. All individuals who were required to certify the submission in previous rounds of routing must recertify every time the submission is returned before it can move forward.

Reopening Your Submission

To reopen the submission and make edits, click on the  button within Submission Details.

Submission Routing

During the submission process, the compliance office may send communication to the PI in the form letters notifying the PI of status changes, approvals, and needed information. Letters are sent via email and are available to download directly from Submission Details in Human Ethics.

The Letters tab appears for a submission when there is at least one letter associated with that submission. To view a letter, click on the letter tab.

You will be able to view the subject, send date, and recipient(s) for each letter. You can click anywhere on the line to open a PDF of the letter in a new window.

To save the letter to a file:

    • Chrome: Right-click within the opened PDF and select Save As.

       
    • Firefox: Right-click within the opened PDF and select Save Page As

    • Internet Explorer: In the menu bar, click on  > File > Save As

When a submission has been certified by a PI and sent to the Analyst, the Analyst or other individuals reviewing the submission may comment on various questions within the submission forms. The Analyst will return the submission to the investigators, and the investigators will need to address any of the comments.

Sections with unresolved comments have a comment bubble icon indicating the total number of unresolved comments in that section. Click on the section to see which questions have a comment attached.

Depending on how far the submission progressed, you may see comments from users reviewing the submission.

Addressing Comments

  1. Click on the numbered comment bubble to view the unaddressed comments associated with each question. 

  2. Click Reply. Enter your reply and click Save

  3. Once you have resolved an issue, change the status drop-down from   to .


You must mark all comments as addressed before the submission can be completed.

Once all comments on the submission have been addressed and the submission has been completed, the PI will need to re-certify the submission to return it to the Analyst.

You can access all details and history for a submission within the Submissions tab on the Study Details page, or from the menu on your Dashboard.

From Study Details

From the Study Details page, click on the Submissions tab.

The Submissions tab shows the list of submissions associated with the study, including the submission type, review type and status, decision, and last modified date. Click on the submission you wish to view.

At the bottom of the Submission Details screen, you'll see tabs that vary depending on the submission stage. Tabs may include Approvals, Task History, Letters, Meetings, Decisions, and Linked Proposals.

Click on the desired tab to locate the required information.

From Your Dashboard

Click on Submissions in the menu.

Search for the submission you wish to view, and then click on the submission.

This will bring you to the Submission Details page.

There are six types of submissions available that you may submit during the course of your research.

Please note: Each submission type has its own template that the Analyst or Admin needs to configure via the Manage Submission Templates page before the submission type can be created.

Available Submission Types

  •  This is the first submission that you create when you enter a new study in the system. The initial submission describes the research you intend to do and the methodology you intend to use. The initial submission must be approved before any research can begin.
  • Renew: When a study is nearing its expiration date, you must submit a renewal request in order to continue with the research. The renewal will need to be approved before you can continue with the study.
  • Report Incident: You must submit an incident report to inform the Compliance Office of any adverse incidents, as required by your institution. Incident reports may be submitted at any time after a study has been approved, including after it has been closed. More than one incident report may be created for a given study, as needed.
  • Withdraw: A withdrawal submission notifies the Compliance Office that you no longer wish to submit your initial submission and want to withdraw the study. Withdrawn studies are marked as finalized and can no longer be modified. You may create a withdrawal submission at any point once an initial submission has been created, until it has been approved. If the initial submission has been approved, you must create a closure submission in order to close the study if you no longer wish to conduct the research.
  • Closure: A closure submission indicates that the research is complete and will not be continuing. Closed studies are marked as finalized and can no longer be modified.

Submission Types Available to Analysts and Admins

  • Admin Closure: Allows a study to be administratively closed when needed, for example when the PI leaves the institution or chooses to let a study expire.
  • Admin Withdrawal: Allows a study to be administratively withdrawn when needed, for example when the PI leaves the institution.

Accessing Submission Types

Submission types available for your study can be found by opening the desired study and locating the NEXT SUBMISSIONS pane. 

Submission Types

If you have an approved study and need to create a Renewal Submission, you can do so from the Study Details page.

Creating a Renewal Submission

  1. From your Researcher Dashboard, click on Studies.

  2. Search for the study for which you wish to create a Renewal Submission, and click on the study number. Please note: Study must be approved.

  3. In the top right-hand corner of the Study Details page, click on the New Submission drop-down menu, and click Renewal.

Submission information will populate beneath the Submission Details tab. The person who creates the study is added as the Primary Contact by default, but this can be changed when editing the submission.

Click Edit to begin your submission.

Fill out your submission form, and when you're finished, click Complete Submission to begin the routing process.

If you need to close your study, you can do so by completing a Study Closure submission.

  1. On the Study Details page of your study, click on New Submission in the top right-hand corner. In the drop-down menu, click Closure.


  2. On the new Submission Details page, click Edit.


  3. Fill out the submission form, including all required fields, and click Complete Submission.


Your institution will now need to approve the closure before your study will be marked as closed.

Deleting a study or submission can be done from either the Study Details page, or the Submission Details page.

Deleting a Study

You can only delete a study if it has no submissions attached. To delete a study, click on Delete on the Study Details page.

On the confirmation page, click Delete.

Deleting a Submission

You can only delete a submission prior to the initial completion (when Complete Submission is clicked). If a submission can't be deleted, .

To delete a submission, click on Delete on the Submission Details page.

On the confirmation page, click Delete.